Adding a Checkout.com connection to your BR-DGE retail channel requires you to collect some information for us to add to your BR-DGE retail channels. This article details the information BR-DGE requires, and how you can locate it.
Checkout.com Account
If you don't already have a Checkout.com Account, then you will need to create one with Checkout.com.
BR-DGE requires the following information to allow you to route payments to Checkout.com through our platform:
- Processing Channel Id
- Merchant Api Key
- Checkout Notification Passphrase
- Authorization Key
Checkout.com Payouts
If you have multiple currencies configured within your Checkout.com account, please provide us with the IDs for each Currency Account and the currencies that they correspond to.
We can configure the usage of those Currency Accounts in two ways.
- Currency based selection; Based on the currency of the transaction, we can automatically select the appropriate Currency Account to include in the payload.
For this option, please provide us with the following:
- processing Channel Id
- all currency Account Ids and their currency. - Currency Account Override; If you wish for the currency account to be static for a given retail channel, you can inform us which of the Currency Accounts you wish to use. This will be included in the payload regardless of the currency of transactions being sent for processing.
For this option, please pprovide us with the following:
- currency Account Id (to be used as "override")
- Entity Id
How to locate your entity Id?
- To obtain your entityId, please contact Checkout.com support and ensure they grant you access to the balances endpoint.
- They may ask your Processing channel Id and API key, so ensure you have these on hand.
Please note that some of these details are sensitive. We ask you to handle these with care.- How to locate your Processing Channel Id & Merchant Api Key?
- Login to your Checkout.com account.
- Go to Developers > Keys and select Create a new key.
- Select Secret API Key for server side authentication.
- Enter an appropriate description in the Key description field.
- Under Scopes, select Customise > Payments radio button. No other changes in this section are required.
- Under Processing channels:
Ensure Allow any processing channel is NOT ticked.
Ensure the relevant processing channel IS ticked in the checkbox list:
- Click on the Create Key button.
- Copy the value for Secret API Key.
- Click the Close button.
- The saved value for Secret API Key is to be used as the value for Merchant Api Key.
The Processing channel ID is required if you are using Checkout for Payouts, or if using the same API Key across multiple retail channels within BR-DGE Portal. Entity ID is required for Payouts via Override method. Otherwise, these fields are optional.- How to create your Checkout Notification Passphrase & Authorization Key?
- Firstly, Configure the following notifications to be sent to BR-DGE;
Refund notifications
Void notifications
Capture notifications
Payment Declined notifications (optional)
If using Payouts with Checkout.com, Configure also the following notifications;
- Then, Login to your Checkout.com account and select the correct environment (Test | Live)
- Go to Developers > Webhooks.
- Select + New webhook.
- Enter a name for your notification in the Name field.
- Enter the following URL in the Endpoint URL field;
Sandbox (Test): sandbox.comcarde.com/v1/notifications/checkout/{RetailChannelId}
Production (Live): secure.comcarde.com/v1/notifications/checkout/{RetailChannelId}
BR-DGE will need to issue your Retail Channel Id for the corresponding retail channel in advance. Please get in contact with Customer Support to get this information.- Click Generate key under Authorization header Key and record the value generated.
- Click Generate key under Signature Key and record the value generated.
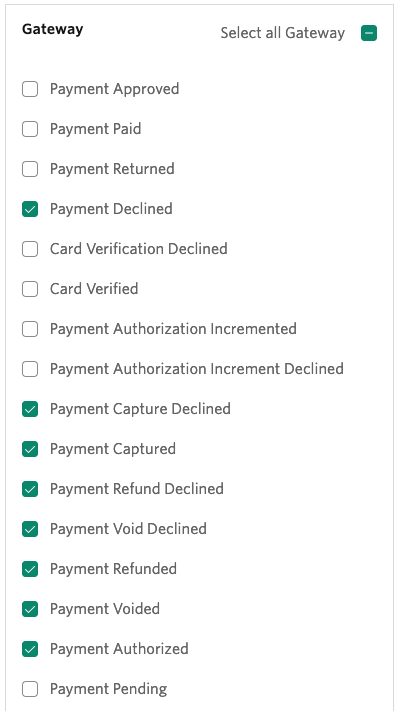
- Select the Events you wish to receive notifications for; see below example:
- Click Create webhook.
If required, you can click on Developers > Webhooks to access the Authorization header Key and/or Signature Key on a previously generated notification.
Was this article helpful?
That’s Great!
Thank you for your feedback
Sorry! We couldn't be helpful
Thank you for your feedback
Feedback sent
We appreciate your effort and will try to fix the article